This is the process of designing just one of the shoes shown in my footwear designs, from start to finish. Depending on the brand and season, I could be working on up to 100 styles for just one customer. The entire development process normally takes several months, and if we are rushing a shoe to the stores in time to hit a trend, we can expedite the development period to a matter of weeks.
It starts with inspiration. A story, a mood, a message that I, as the designer, want to convey. In this case, I was working with Louise et Cie and the theme was “THE SARTORIALIST,” a modern interpretation of timeless classic looks. Louise et Cie is known for it’s polished and sophisticated aesthetic with a hint of whimsy; the designs are often elevated by subtle metal hardware details and unexpected material combinations. .
These are the inspiration boards I created for the Fall 2019 collection:
DESIGNING A DRESS SHOE


Next comes sketching ideas. I start with mini pencil sketches that are called “thumbnails.” Thumbnailing is a way to go through the ideation process in a fast and fluid way.

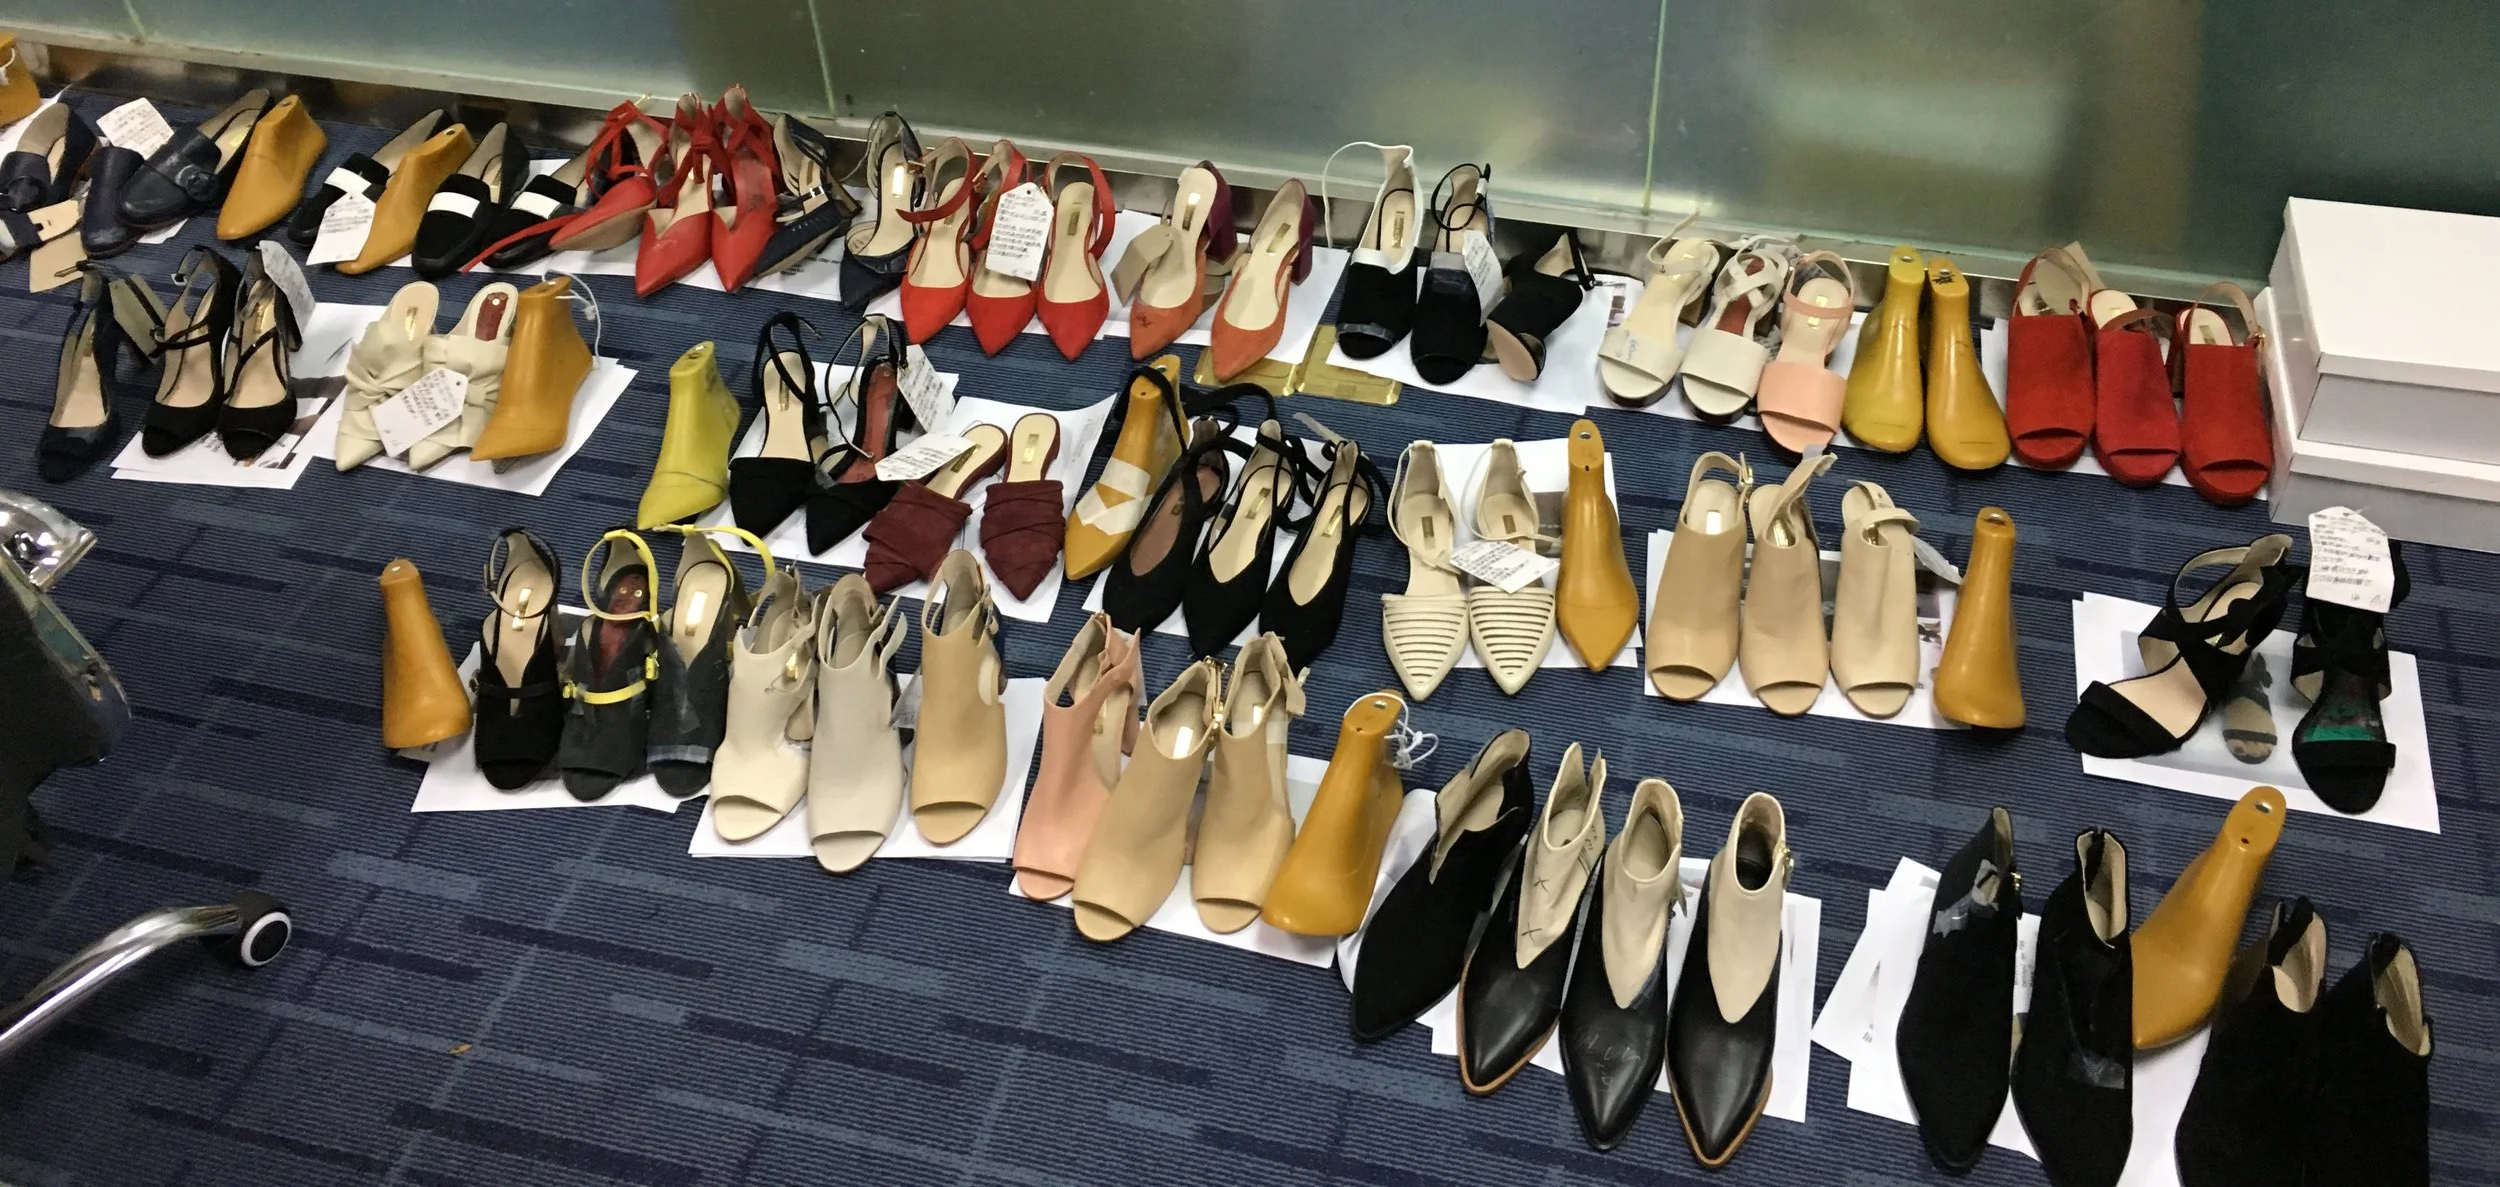
Then we edit our thumbnails and sketch the shoe as a full size 8.5"x11" black line drawing to be reviewed by design, sales and merchandising. this is when we edit the line down to what styles we will send out to factories to prototype. we will use these sketches to send to the factory along with directions for development.
A typical sketch wall may look like this.

Next we move to the development tech sketches.
In this case, I was working with an existing last and construction that has already been commercialized for production. Therefore, I am only sending to China a tech sketch for the upper pattern (the part of the shoe that covers your foot).

After all information is sent to the factory, we communicate via email, zoom or travel to the factory to answer any questions they may have. Then the factory makes a prototype. The prototype is often made in any material and color, just so we can see the lines of the shoe and make corrections.
Once we have reviewed the proto, corrections are sent to the factory (or travel to the factory to correct the sample in person). We try it on, we cut, we tape, and we mark up the shoe to look and fit how we want. If the sample has been cut and marked directly, we will share back the physical sample, and If we are correcting samples remotely we will mark corrections on a photo of the prototype and send via email.

While the factory is executing our corrections, we decide what materials we want the shoe to be made in and we spec the shoe. The factory will use this spec to order materials for the final market samples. For privacy reasons, I cannot show the spec sheet, but here is an example of what the spec process looks like. I use small swatches of every color and material that I have on hand and work through all combinations by hand first before creating digital spec sheets.

Lastly, I create a CAD rendered sketch that reflects all the proposed skus. We often use the CADs as a merchandising and editing tool while we wait for the final market samples.

Finally, the market samples arrive. Here is the shoe sampled in the final requested materials:

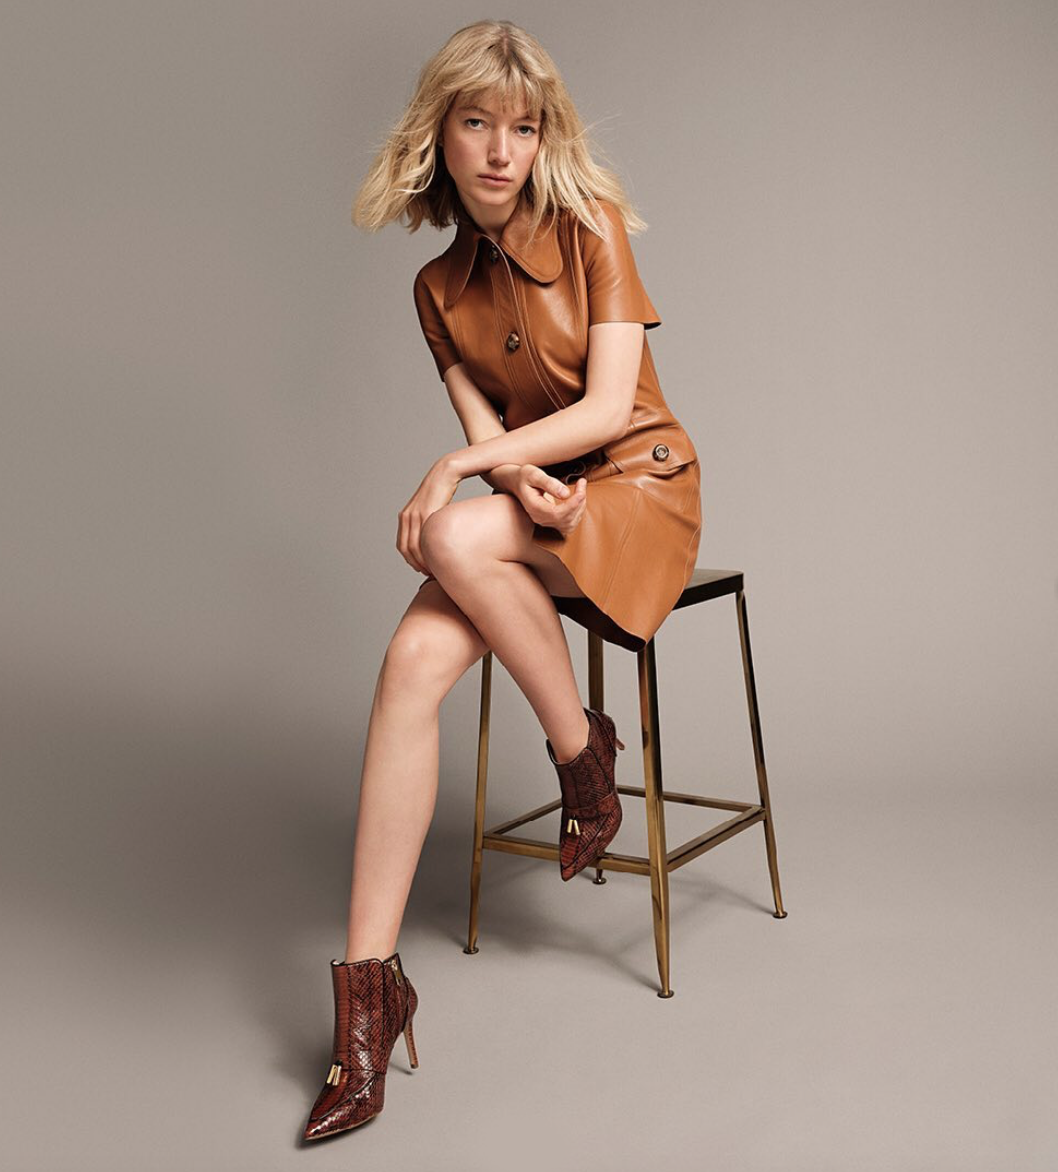
Once the buyers see the shoes and decide what they will purchase for their stores, the shoe goes into production. This is the final pattern shown in editorial images to promote sales: